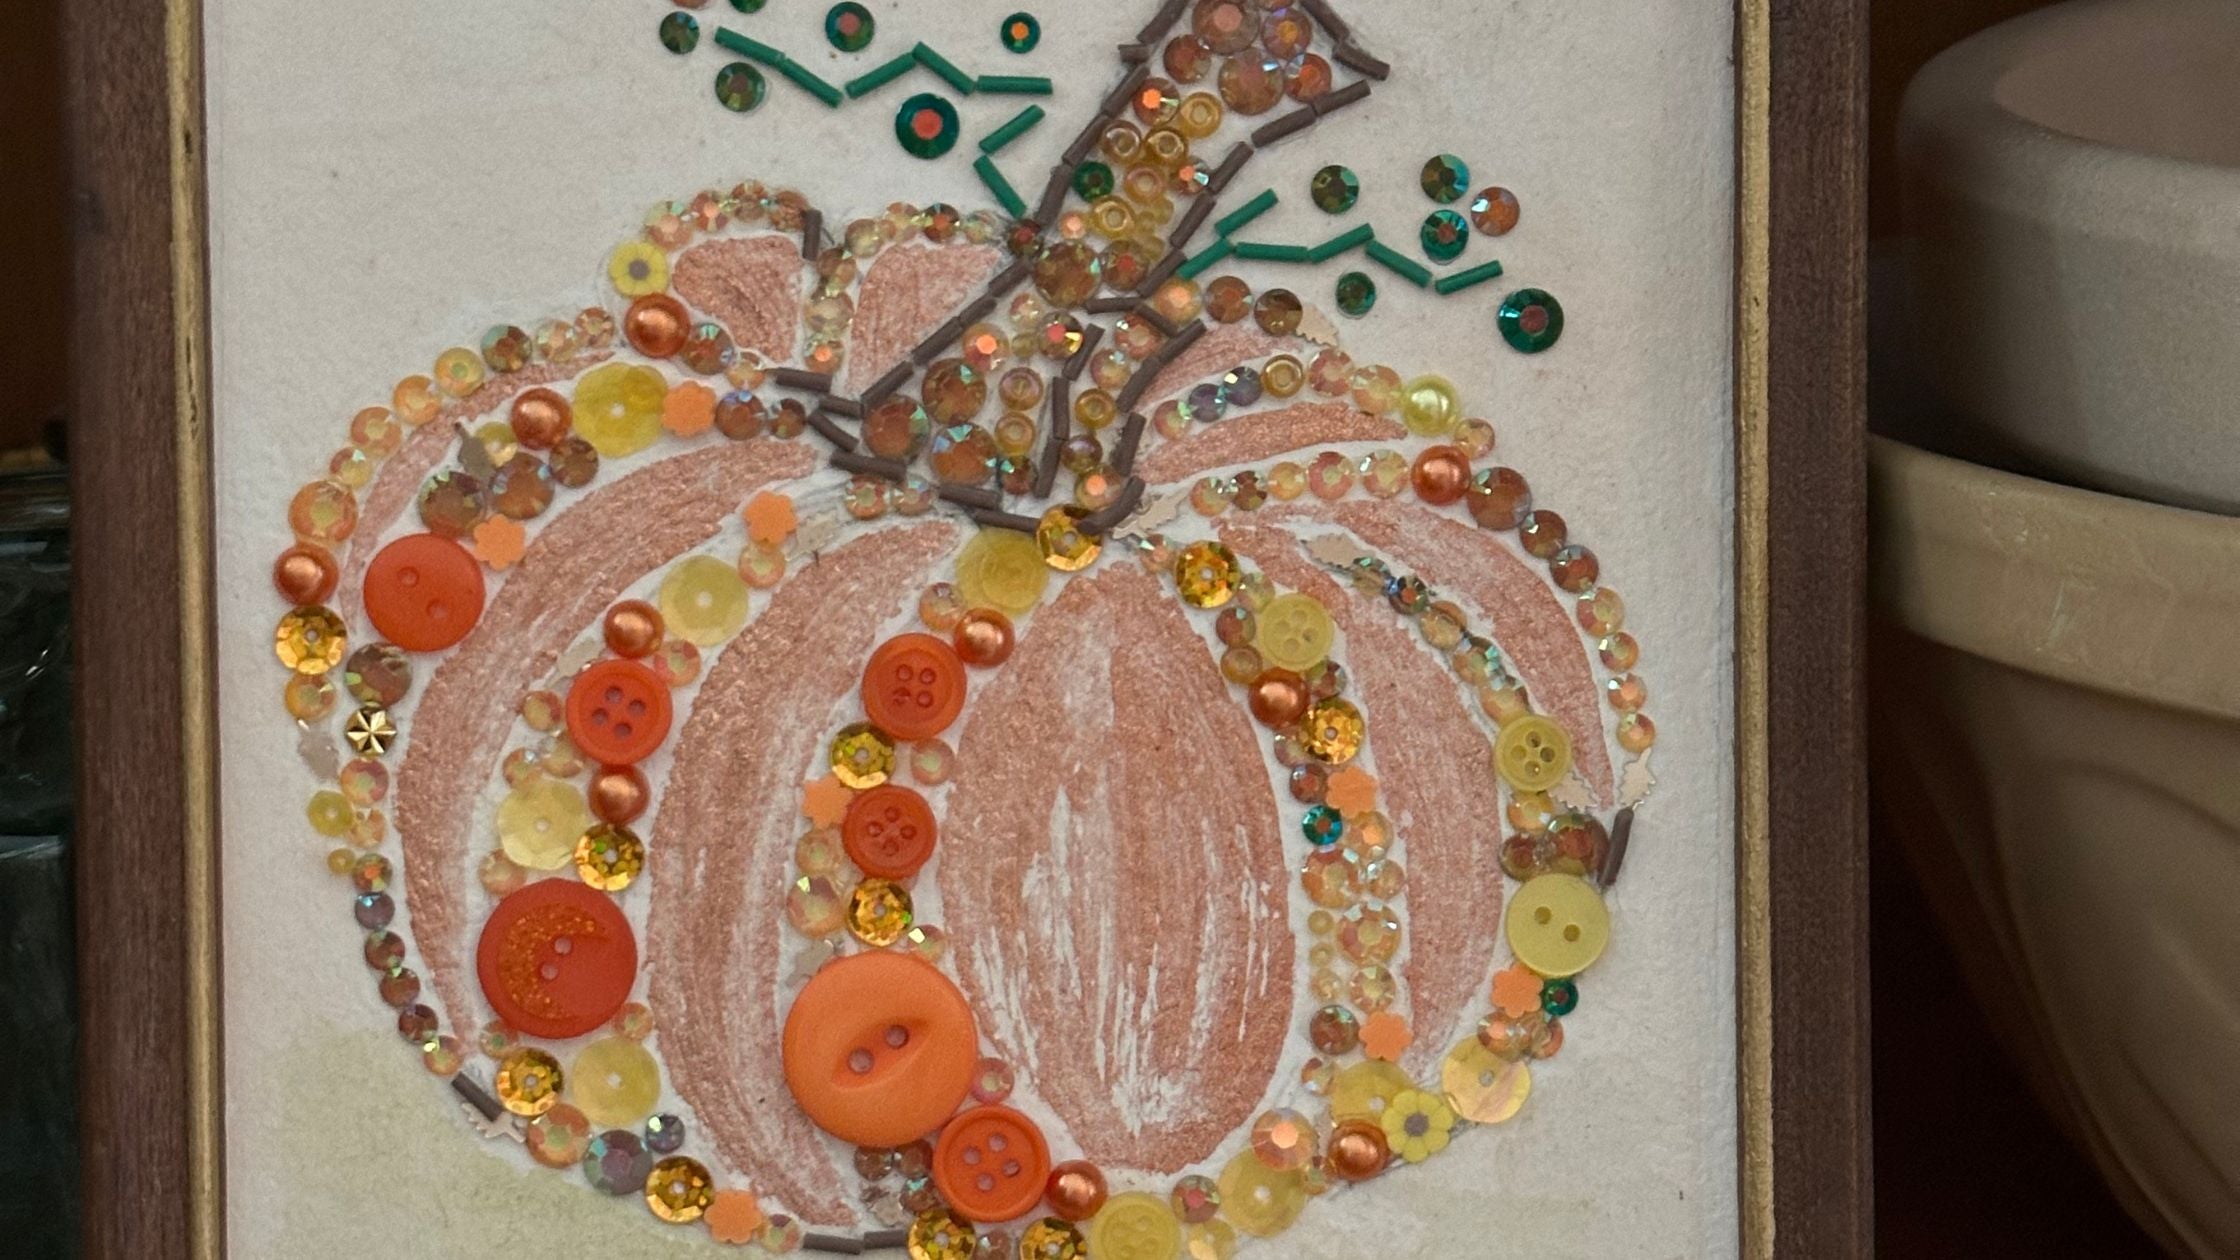
Fall is the perfect time to embrace warm colors and cozy crafts. This DIY Mixed Media Framed Pumpkin project by Najada (@naptimebuttons) combines watercolor and embellishments to create a beautiful, textured piece of art that's perfect for your autumn decor. Using supplies from the BGM subscription box, you'll craft a unique and sparkly pumpkin that adds a touch of seasonal charm to any space. Let's get crafting!
What you’ll need:
- Heavy watercolor paper
- Orange watercolor paint and brush
- Jewel glue
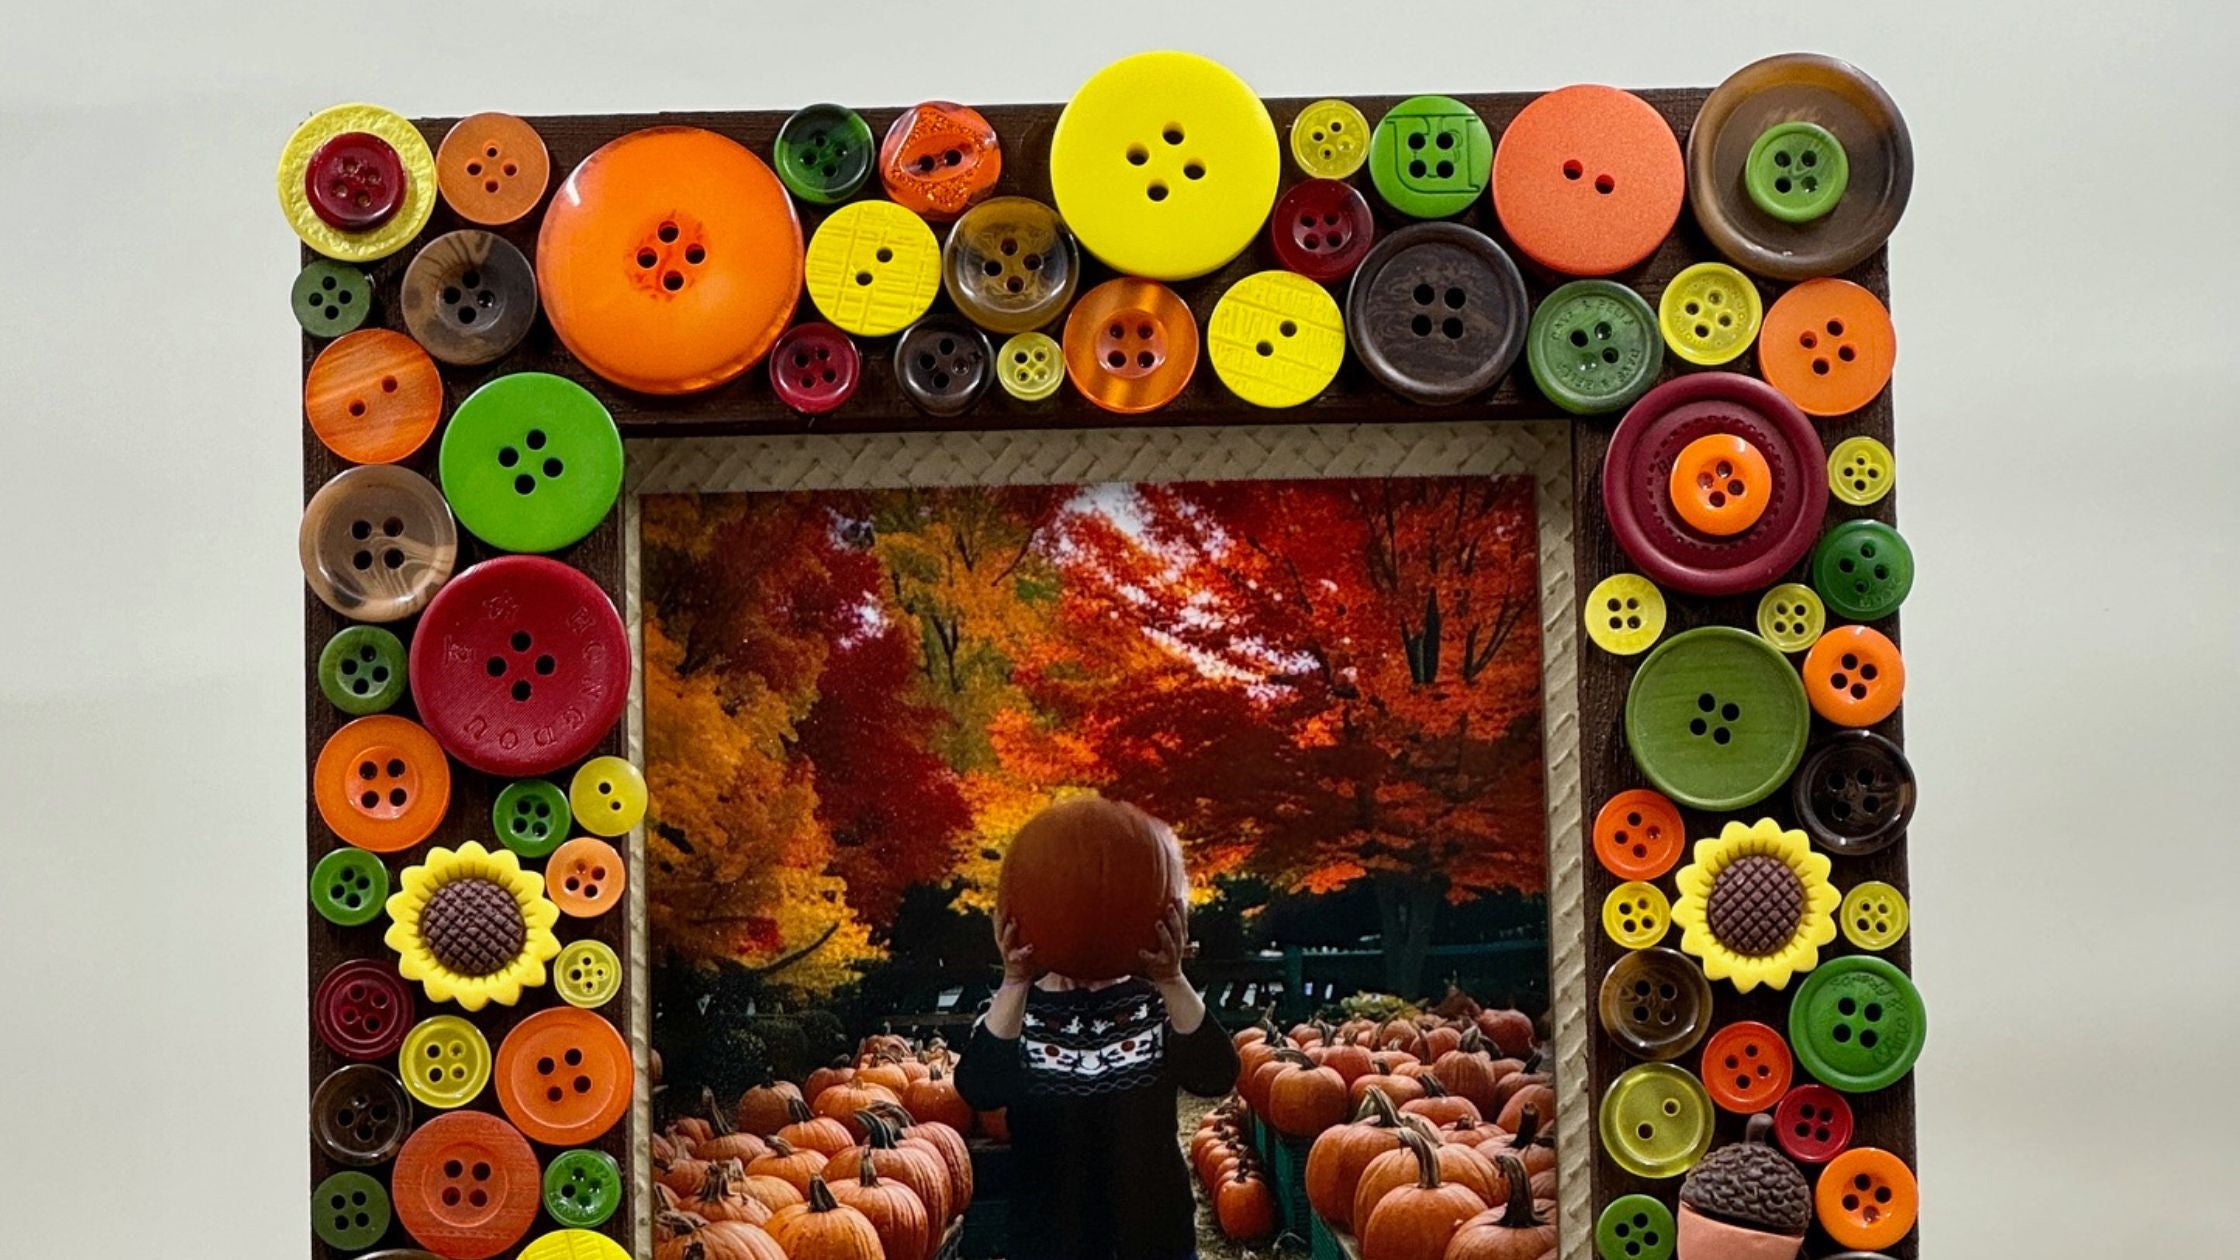
- Harvest Buttons (can be found in the Harvest Box)
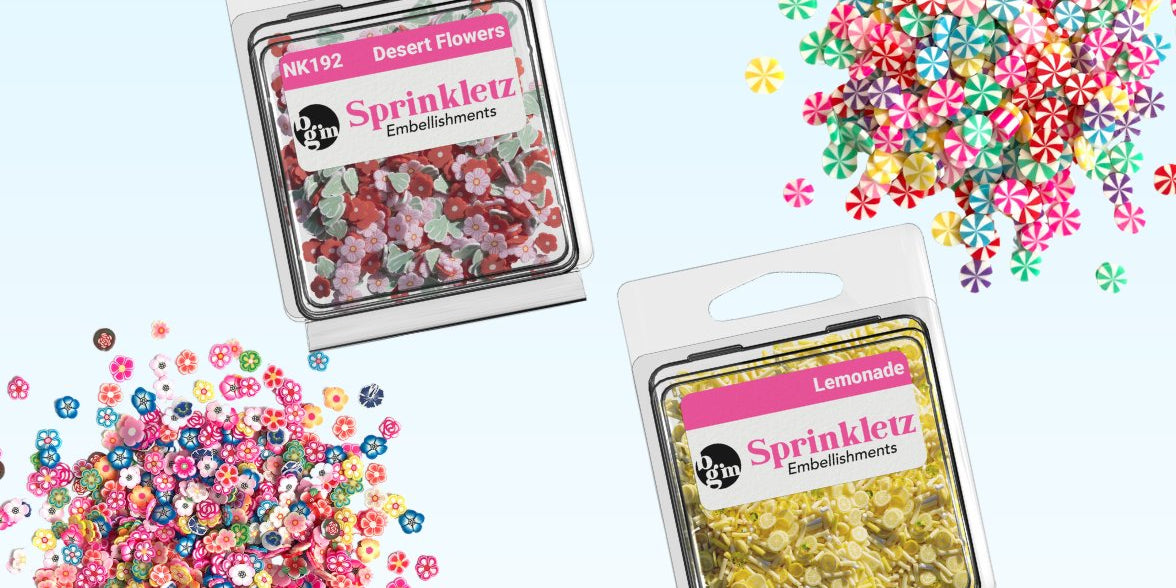
- NEW Fall Harvest Sprinkletz
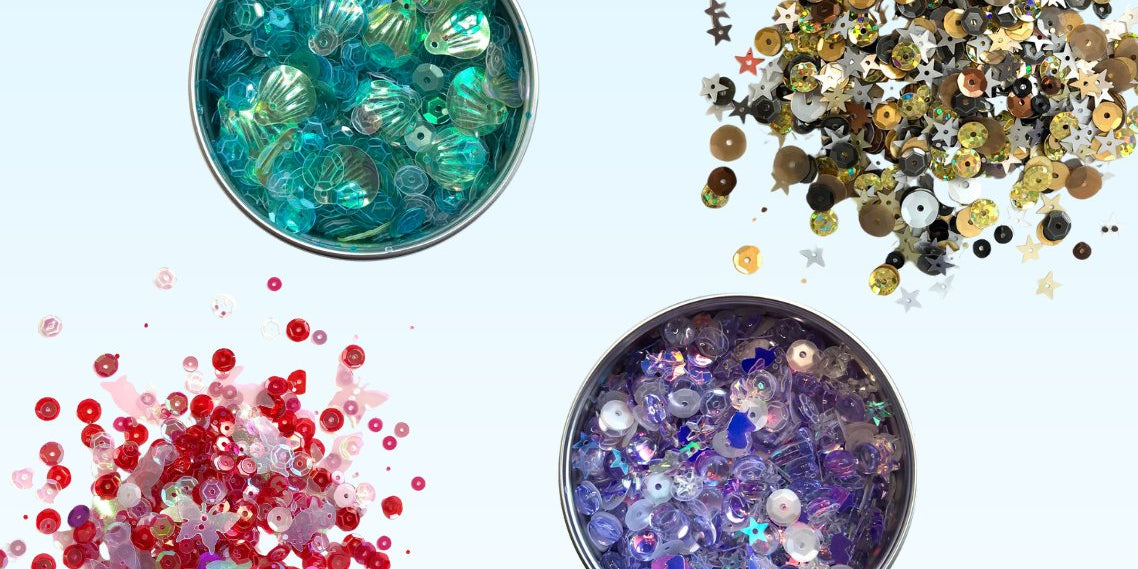
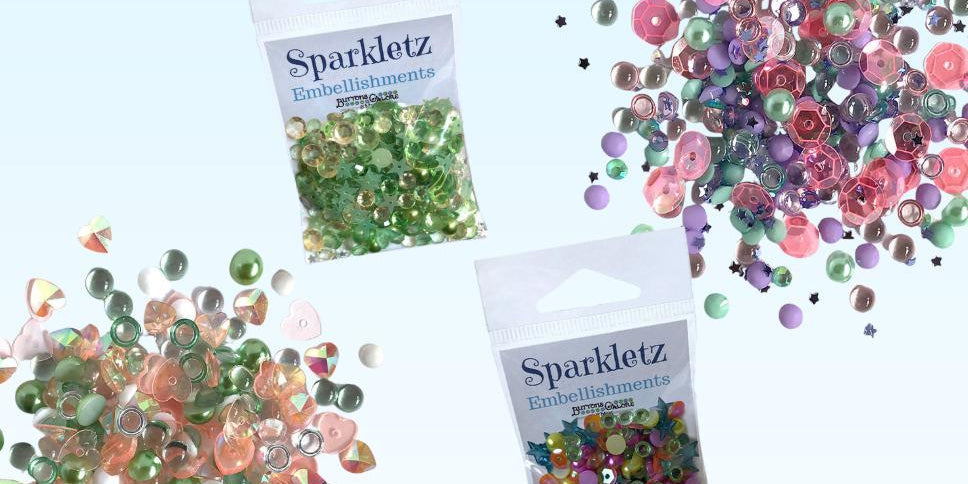
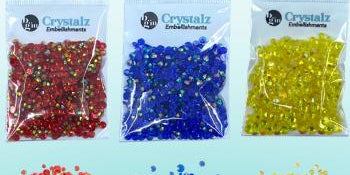
- NEW Autumn Glory Sparkletz
- Water-based sealer (optional)

Step 1: Sketching the Pumpkin Outline
Start by lightly sketching a loose outline of a pumpkin on your heavy watercolor paper. Don't worry about precision; the beauty of this project lies in its freeform style.

Step 2: Painting the Pumpkin
Using your orange watercolor, paint loose strips within the pumpkin outline. Leave spaces between the curves to mimic the natural indents of a pumpkin. These spaces will later be filled with buttons and embellishments.

Step 3: Adding Buttons and Embellishments
With your pumpkin outline and watercolor complete, it's time to add some dimension. Using jewel glue, begin placing buttons and embellishments into the spaces left between the watercolor strips. Start with the buttons to cover larger areas, then add smaller embellishments like the NEW Fall Harvest Sprinkletz and the NEW Autumn Glory Sparkletz. Don't be afraid to play around with the arrangement to get the look you want.

Step 4: Finishing the Pumpkin Stem
For the pumpkin stem, use the Fall Harvest Sprinkletz to outline the shape and create the curly leaves. Add a few gems for extra sparkle and detail.

Step 5: Sealing Your Artwork (Optional)
If you want to ensure your embellishments stay in place, spray the entire piece with a water-based sealer. This will give your artwork added durability and a finished look.

Step 6: Framing Your Artwork
Once everything is dry, cut the paper to your desired frame size and frame your pumpkin masterpiece.

All done! You now have a gorgeous, sparkly framed pumpkin to brighten up your fall decor! This project is not only fun and creative but also a great way to use the fantastic supplies from the newest BGM Box—the Harvest Box. We hope you enjoy making this piece as much as we did and find joy in the process of creating your unique autumn decoration!

If you try this project, let us know how it goes by tagging us on social media: @buttonsgalore!
