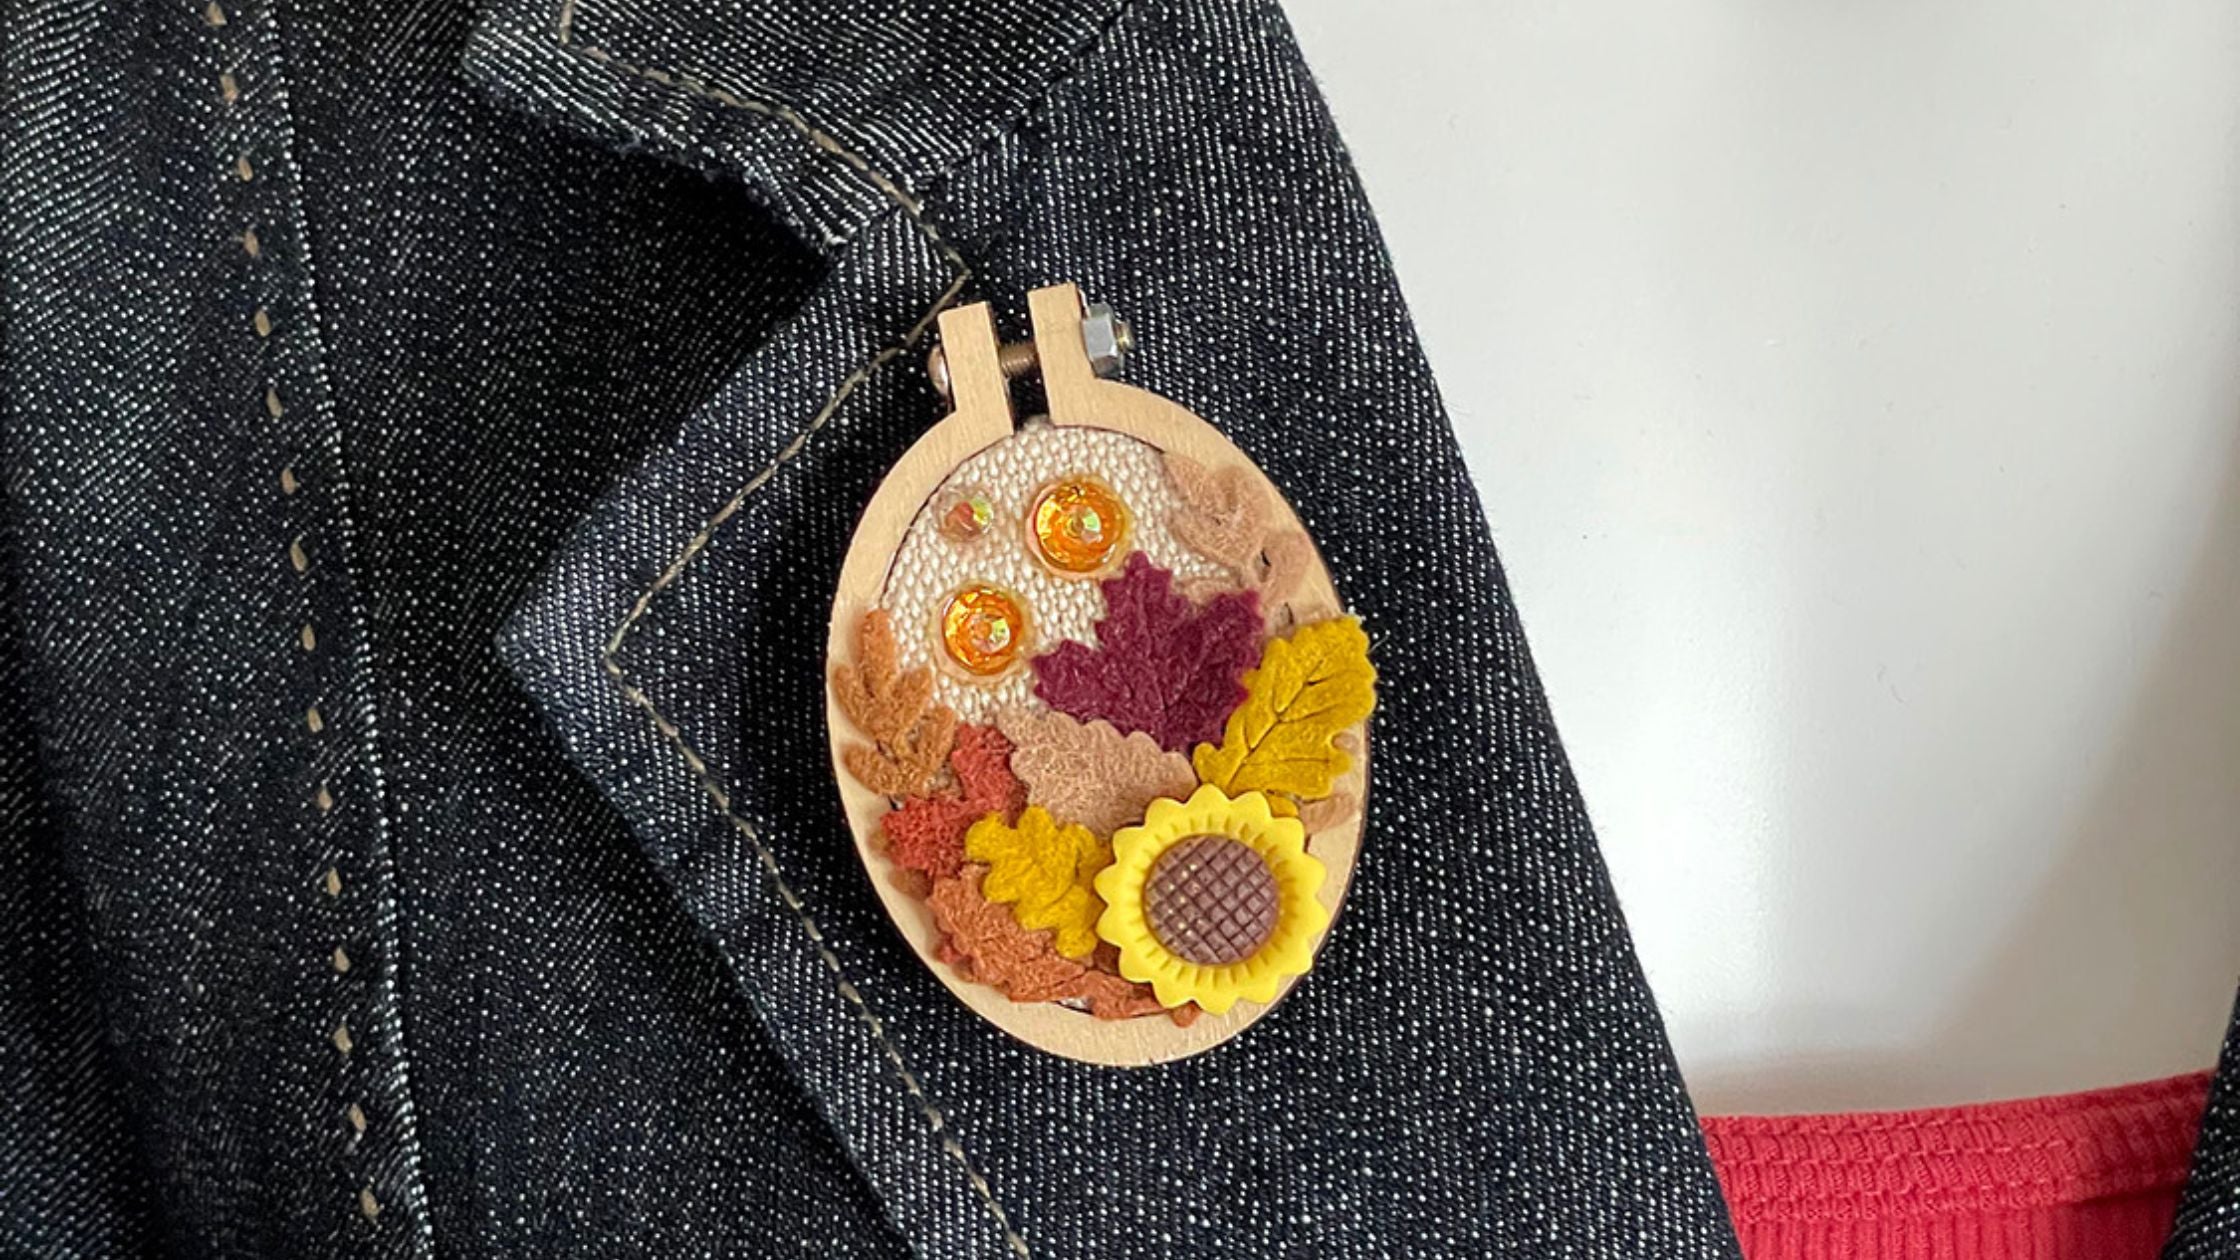
Today, we're sharing Anaya’s (@yanadesigns) tutorial on making a charming Fall Embellished Hoop Brooch using items from the latest BGM Box (the Harvest Box)! This project creates a beautiful accessory that captures the essence of autumn—great for adding a touch of fall to your outfit or making a thoughtful gift!
Supplies you need:
- Oval wood embroidery hoop
- Fabric of your choice
- Glue gun and glue sticks
- Tacky glue
- Bitty Fall Leaves Dies - My Favorite Things
- Die cutting machine
- Wool blend felt
- 1.5” bar pin
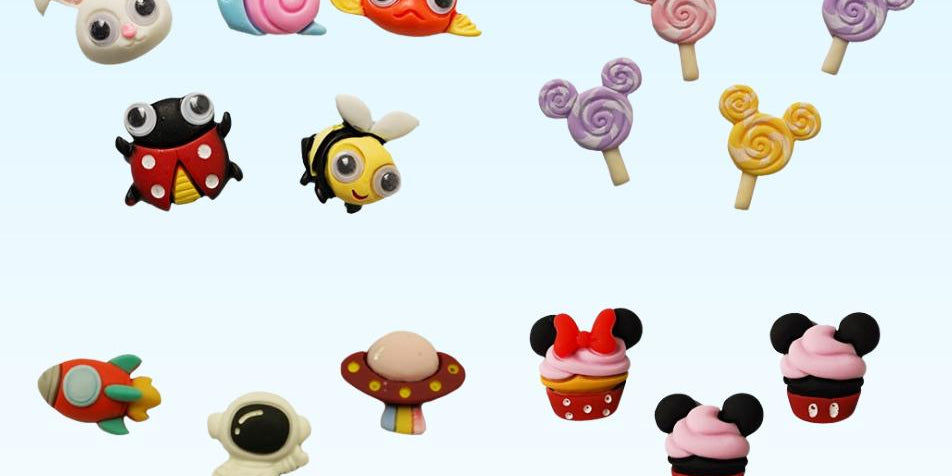
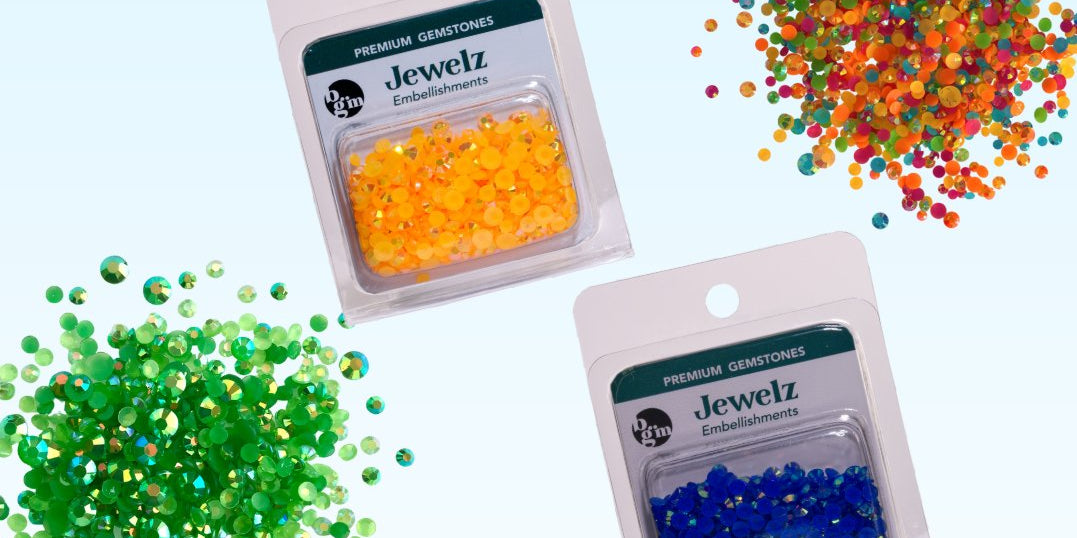
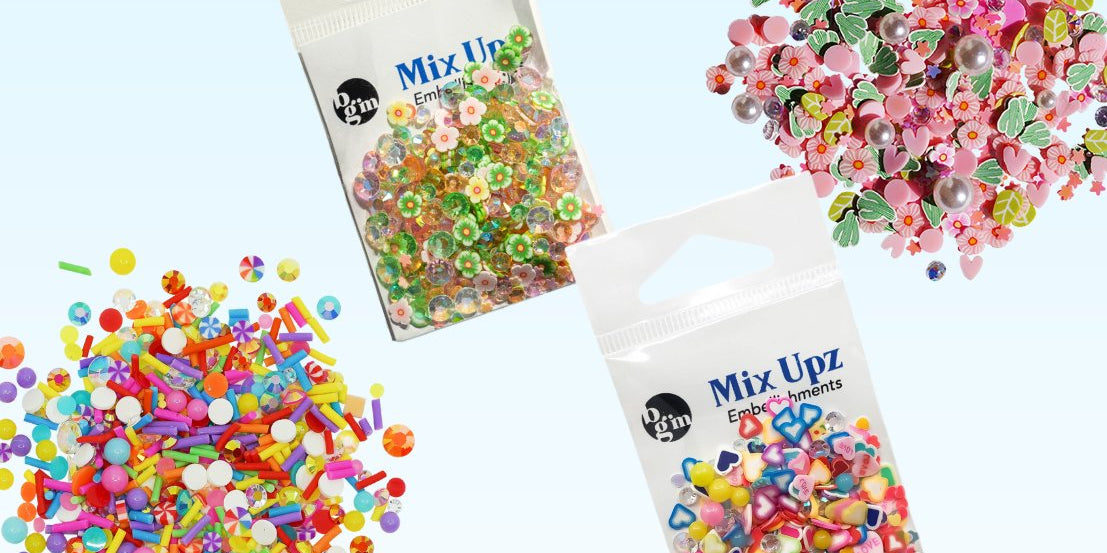
- It's Fall Y'all Flatbackz (can be found in the Harvest Box)
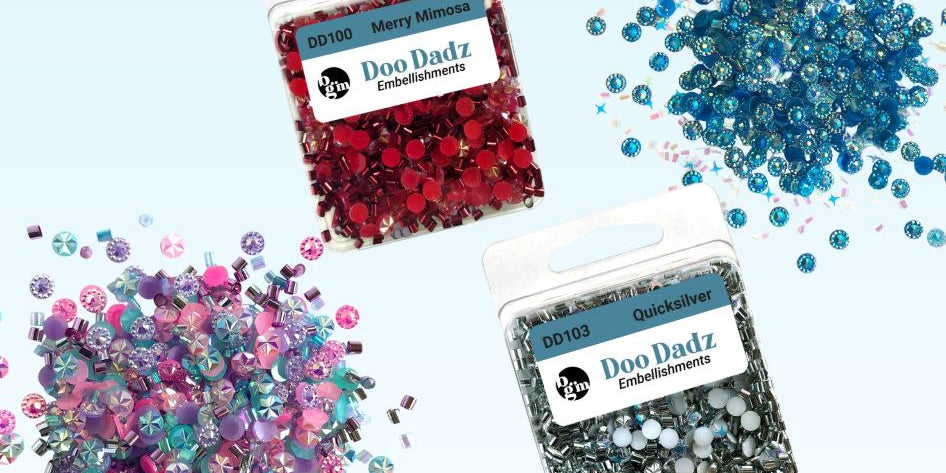
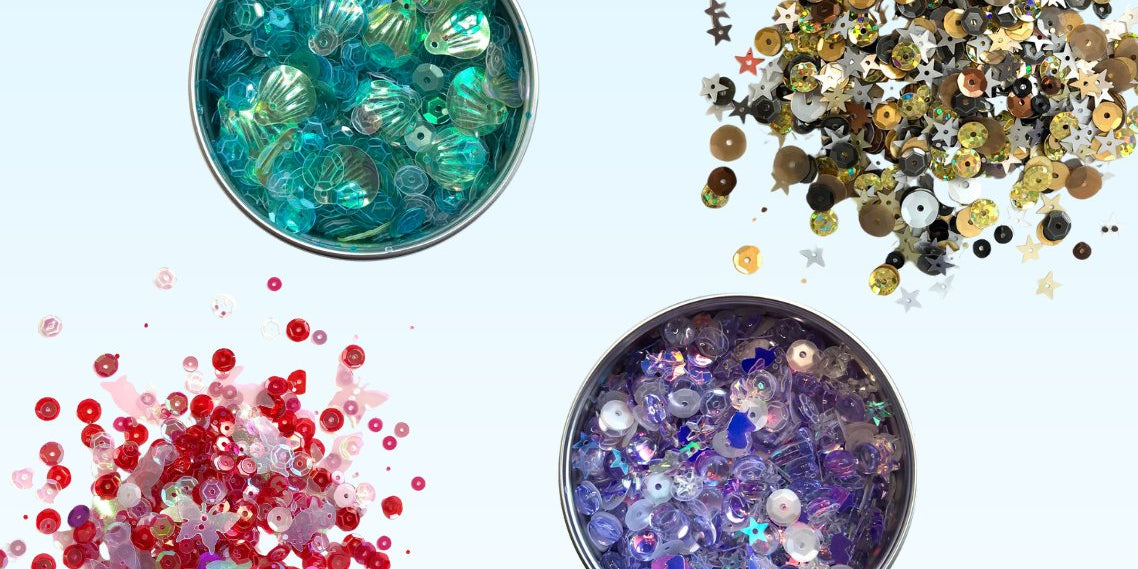
- Sequins (can be found in the Harvest Box)
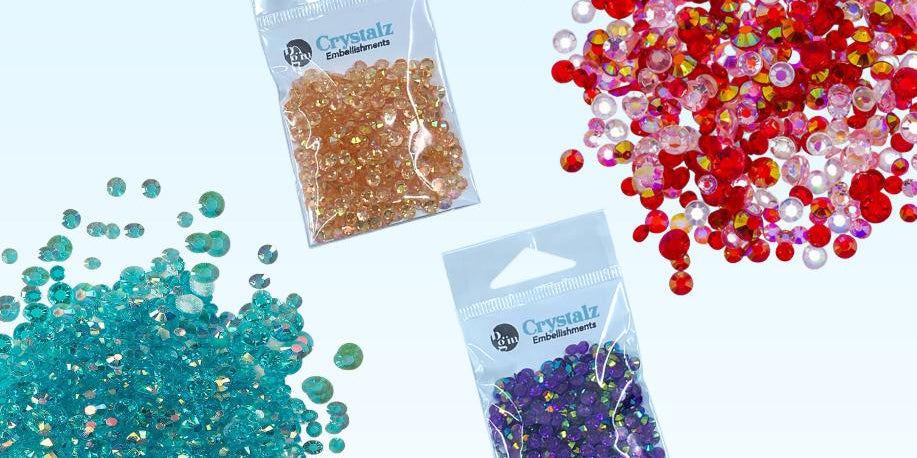
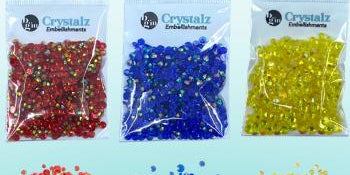
- Crystalz (can be found in the Harvest Box)
Step 1: Preparing the Fabric and Hoop
- Begin by laying your chosen fabric over the inner ring of the embroidery hoop. Make sure the fabric is smooth and the area you want to embellish is centered.
- Once positioned, trim any excess fabric, leaving enough to glue down neatly on the backside of the hoop.
- Secure the fabric to the hoop by applying a thin line of hot glue or tacky glue along the inner edge of the hoop. Carefully press the fabric into place, ensuring it adheres smoothly without wrinkles.
- Cut a piece of wool blend felt in an oval shape slightly smaller than the hoop. This will be used to cover the frayed ends of the fabric on the back side. Apply glue to the felt and attach it to the back of the hoop, creating a clean finish.

Step 2: Adding the Pin Back
- Cut a small strip of felt, approximately 1” x 0.5”.
- Attach the bar pin to the felt strip using hot glue or tacky glue. Make sure it’s secure and centered.
- Once the glue has dried, attach the felt strip with the pin to the back of the hoop, positioning it near the top for balanced wear. This will allow your brooch to be worn comfortably.
Step 3: Creating and Arranging the Embellishments
- Using your die cutting machine and Bitty Fall Leaves Dies, cut out leaves in various autumnal colors from the wool blend felt.
- Arrange the leaves in a pattern that you like on the front of the fabric-covered hoop. You can layer them to create depth and texture.
- Once you're happy with the arrangement, use a glue gun or tacky glue to adhere the leaves to the fabric.
- Add additional embellishments such as the It's Fall Y'all Flatbackz, Sequins, and Crystalz to give your brooch some sparkle and personality. Glue these in place as desired.

Step 4: Finishing Touches
- Allow all the glued elements to dry completely. This ensures that everything stays securely in place when the brooch is worn.
- Once dry, your Fall Embellished Hoop Brooch is ready to wear! Pin it to your favorite jacket, bag, or scarf to celebrate the season in style.

And there you have it—a beautiful, handcrafted brooch that captures the essence of fall! This DIY project is not only easy to make but also a great way to add a personal touch to your fall wardrobe. Plus, it's a wonderful gift idea for friends and family who love unique accessories. Happy crafting!
If you try this project, let us know how it goes by tagging us on social media: @buttonsgalore!
