How adorable is this Tulip Pocket Tag created by our lovely community member, Jenn (@jenncascell)? It's the perfect way to add a touch of springtime charm to your gift-giving or scrapbooking projects. Follow our step-by-step instructions and bring your own blooming pocket tag to life!
Step 1: Cut out your tulip shapes
Using a die cutting machine or a trusty die, cut out a tulip shape complete with its leaf and stem for the base. Don't forget to also cut out a smaller tulip bulb shape to serve as your pocket.
Step 2: Construct the pocket
Grab a strip of sturdy cardstock and fold it into a pocket shape. To add a fun twist, turn it into a shaker pocket by attaching foam strips around the edges, leaving enough space for your sequins mix to shake and shimmer inside.
Step 3: Mix up your sequins
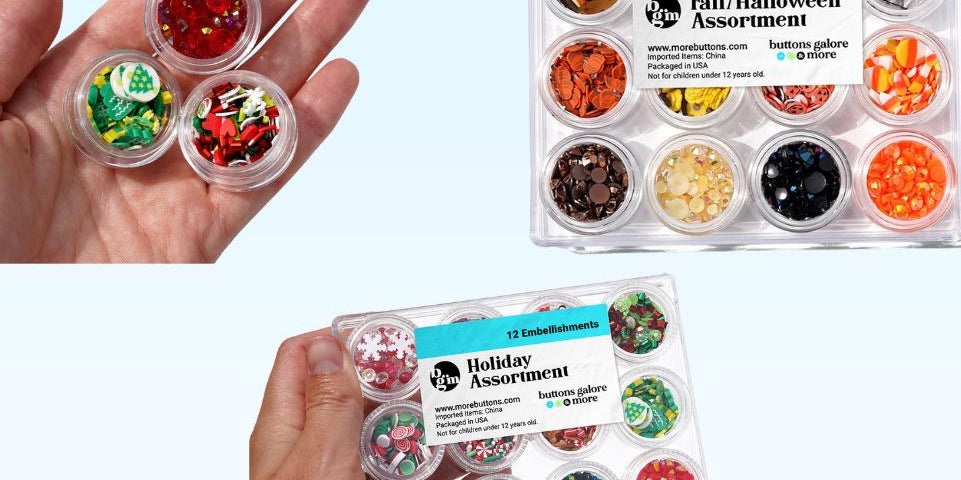
Now it's time to get creative with your sequins mix! Raid your Magic Meadow Box and gather an assortment of sequins in different shapes and colors. Mix them together to create a vibrant blend that will add a pop of personality to your pocket tag.
Step 4: Add some flair
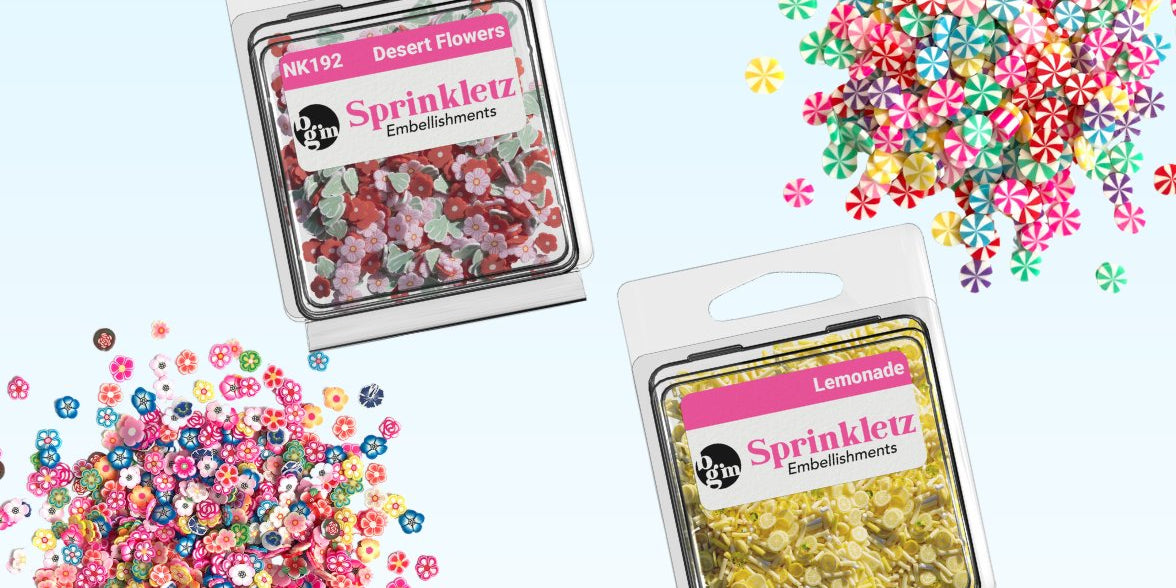
Let's make this pocket tag really stand out! Get crafty and create some bows, pinwheels, or any other cute embellishments you fancy. Once you've got your goodies ready, top them off with the Tiny Tulips, a sprinkle of Flower Power, and maybe a few buttons for extra charm.

Step 5: Spread the joy
Now that your Tulip Pocket Tag is looking fabulous, it's time to spread some happiness! Whether you're sending it as a thoughtful gift to a crafty friend or using it to add a touch of cheer to your own projects, this little creation is sure to bring a smile to someone's face. Get crafting and make someone's day with a bit of happy mail! 🌷💌✨

If you try this pocket tag, let us know how it goes by tagging us on social media: @buttonsgalore!
