


Happy Halloween Crafters! We have a spooky skull wall plaque for you to make tonight while watching a scary movie. So get out your favorite acrylic paint because we are doing an acrylic wash for this one!
Final project by Jennifer Snyder:

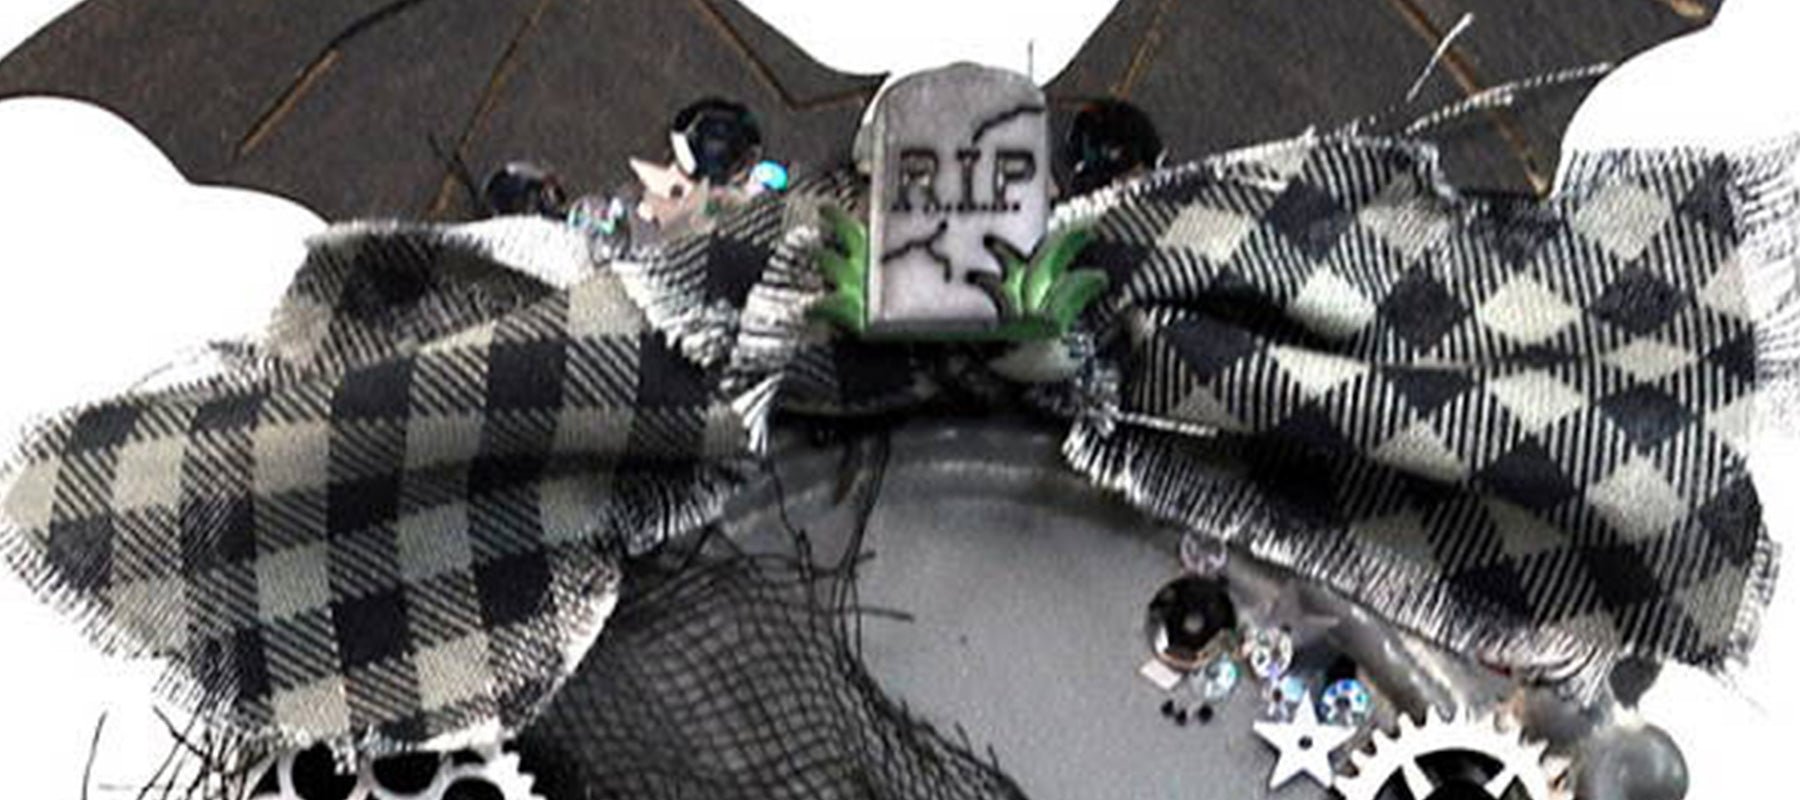
Acrylic paint washes (water mixed with paint) are a great way to maintain the texture of chipboard pieces. The bat wings were painted with a black acrylic paint wash. The steampunk skull and gears were painted with a whitewash - you guessed it, acrylic white paint mixed with water.
So, the real question is why bother adding water to the paint? Why not just "go for it" and use full-strength acrylic paint?
Great question, the details on the chipboard skull and bat wings are crucial to the chipboard design. If I cover those up, I lose the integrity of the pieces. The paint washes thin out the paint and does not clog up the fine details as paint would.
Now the amount of water you add is all up to you. No magic recipe - but more a matter of satisfaction level and end results. I always test my washes on the back of the chipboard first before applying. This way, no tears are shed.
There's NO crying in crafting and paper play. Shouldn't be tears at least.

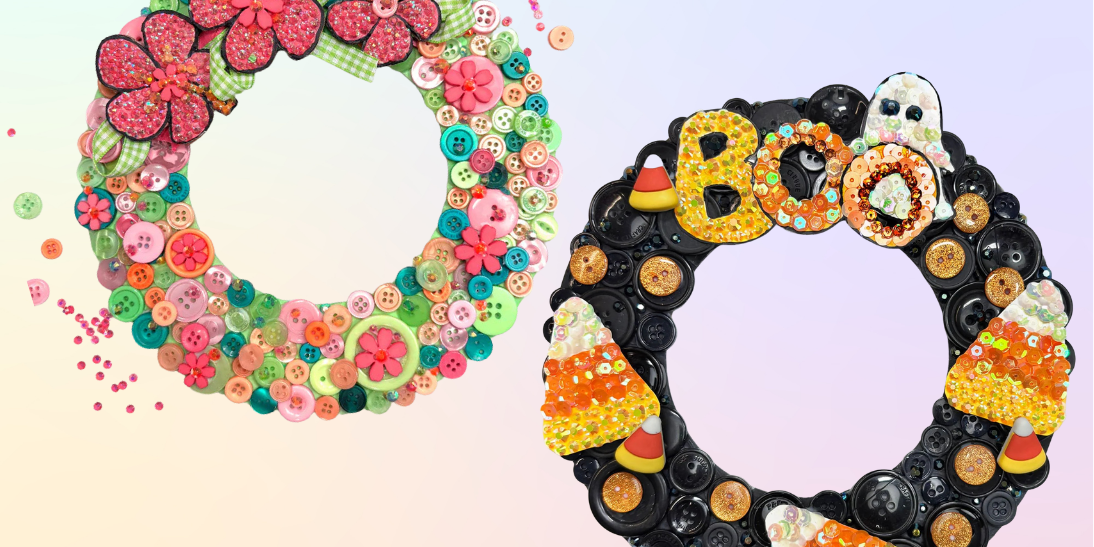
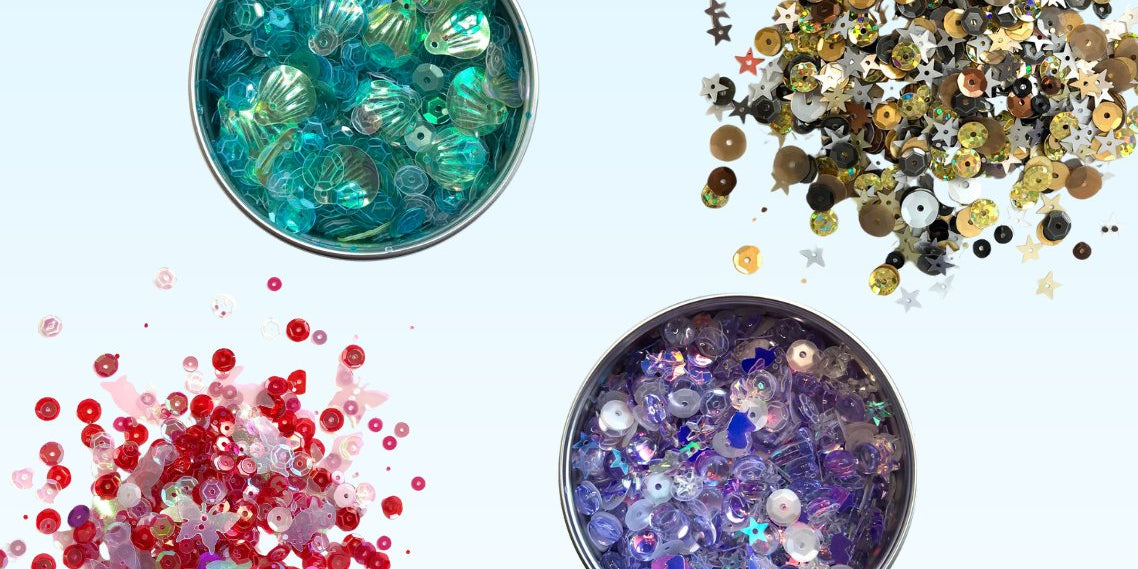
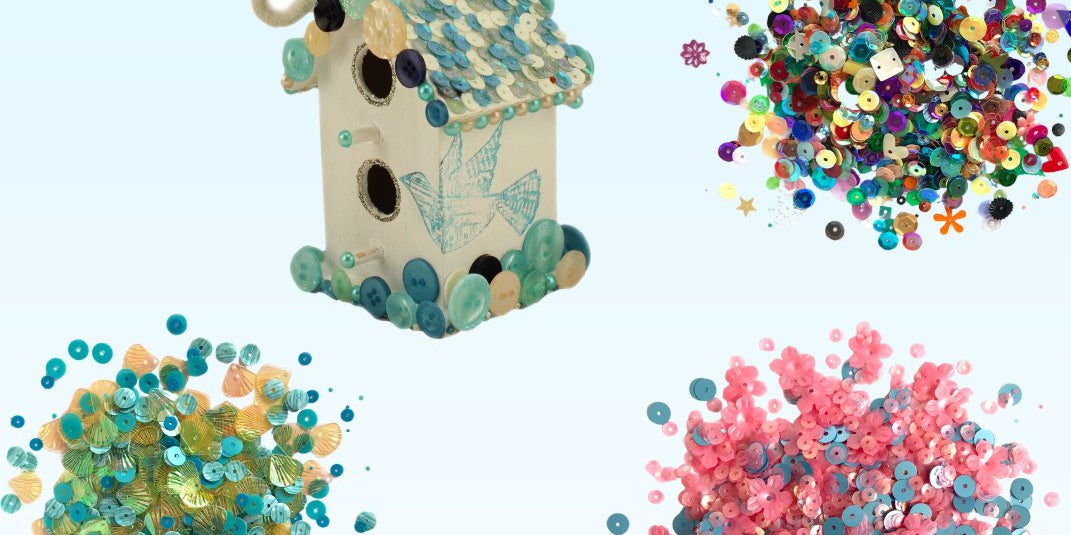
This wall hanging uses Buttons Galore's Haunted House Sequin Mix (Tin) here and there to dot the piece with a touch of texture. This mix includes a bit of purple and I left the purple sequins off this project. My vision was a monochromatic spooky piece.
3D Buttons are another fabulous addition to any project. Buttons Galore has a spooktacular selection of Halloween 3D buttons for all your Halloween creations. I used the Tombstone 3D button from Buttons Galore 3D Buttons - Spooky Carded Buttons at the top of the plaque as a center for the bow.
Step-By-Step Directions:

Tag us on your home decor projects @buttonsgalore