I love everything about autumn, from the warm rich colors to the bountiful harvest images. With the change of seasons comes a change in home decor for my front door. I think the Amazon, UPS, USPS, FedEx and Pizza delivery folks need something new to look at when they drop off goodies!
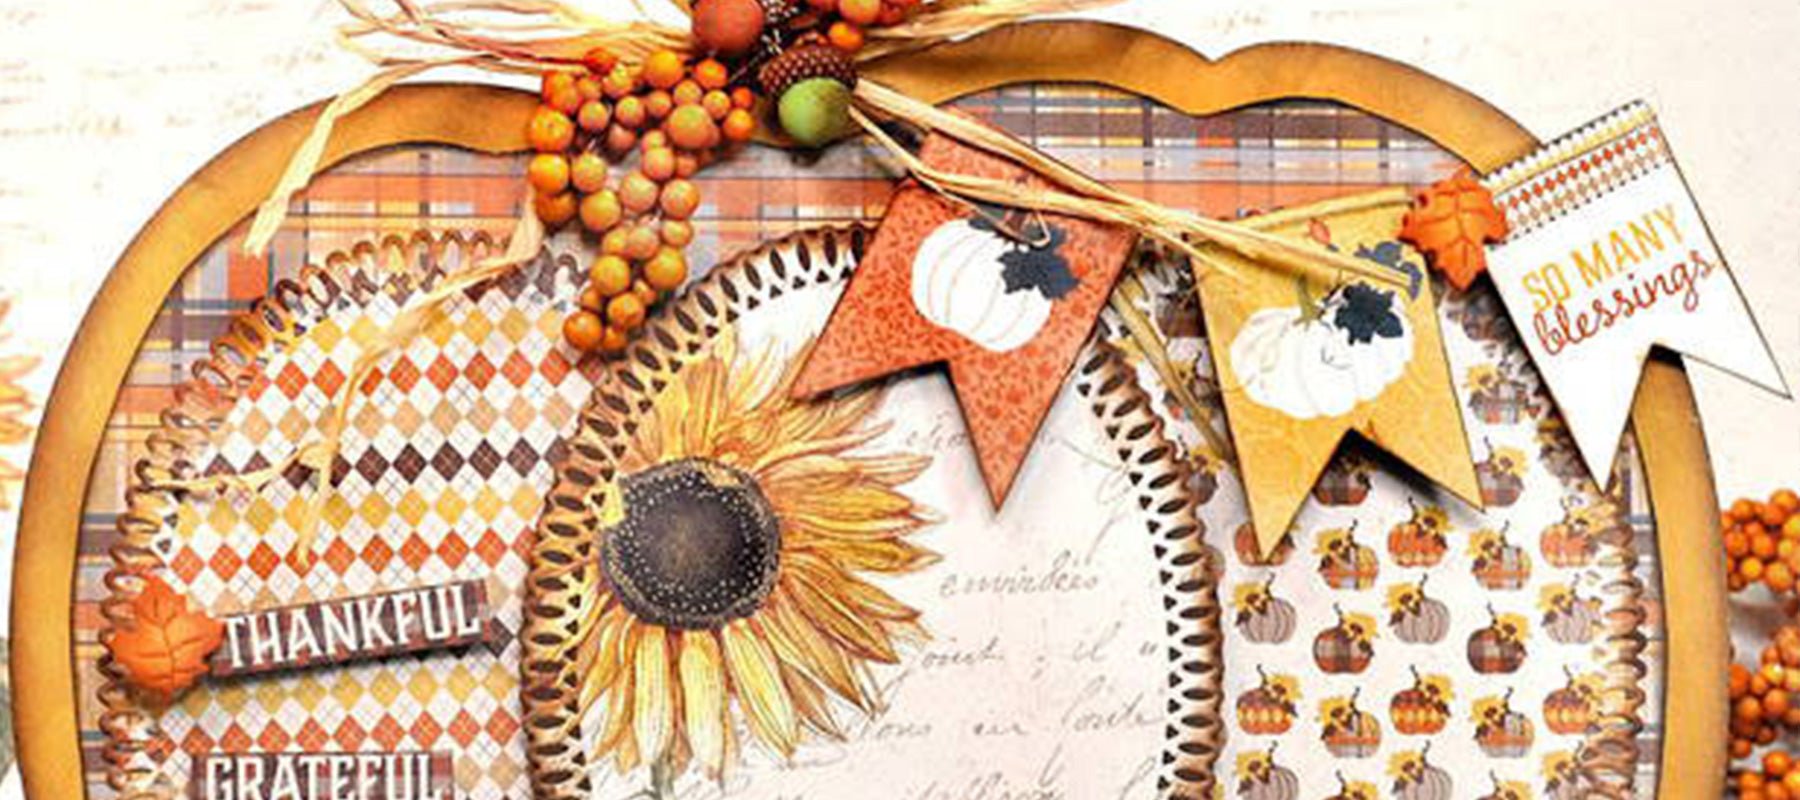
Finished Project by Jennifer Snyder:

Scroll down to see instructions and tips that I am sharing to help in your creative process.
Paper Choice
The paper collection used today is Authentique's new Splendor collection, but you can use any paper styles of your choice!

The Wood Pumpkin Decor Shape
Creative Embellishments, popular worldwide for their chipboard and shaker designs, has added a new product line featuring large wood home decor pieces in a variety of seasonal and non-seasonal shapes. These are perfect to freshen your home, create as a holiday table centerpiece, or to gift. As I mentioned in my opening, my pumpkin will welcome all the delivery people to my front door.
The pumpkin is Creative Embellishments Wood Home Decor -Large Pumpkin shape. It's a substantially sized wooden piece (11.6"wide X 9.7"high) that comes with a clean smooth surface ready to finish any way to choose.

DIY Instructions and Tips to Help You Create"
Step 1.) Usa a blending brush and apply Distress Ink in Fossilized Amber to add warmth and color to the base.

Step 2.) Papering the front. I wanted to keep about 1/2 inch of wood edge showing.
To do this, I flipped the pumpkin over and traced the shape onto the Authentique Splendor Paper - Five using a pencil. Take no risks when tracing.
Once the shape was cut, I used a ruler and measured 1/2 inch marks around the entire back of the patterned paper to resize and reduce the patterned paper allowing for my wood edges to show.
Will it be perfect? Probably not. Does anyone notice? Probably not.
Don't stress over the small stuff.

This is what it will look like after the resizing. I love the wood showing. I did ink the edges of the patterned paper with Distress Ink in Vintage Photo.

Step 3: Add Decorative Dies
Dies are great to use in cardmaking, but don't hesitate to pull them out for DIY home decor projects as well. The beautiful ovals on the pumpkin are die cut using Picot Petite Ovals from Becca Feeken’s Amazing Paper Grace collection.
I selected three coordinating patterned papers from Authentique Splendor paper pack and die cut three decorative Picot Petite Ovals. I inked the edges of each die cut with Vintage Photo Distress Ink to give the decorative edges some definition.

The sunflower oval (Authentique Paper - Splendor Collection -sheet One) will be the centerpiece of the pumpkin and I want this to be dimensional by adding foam to the back.
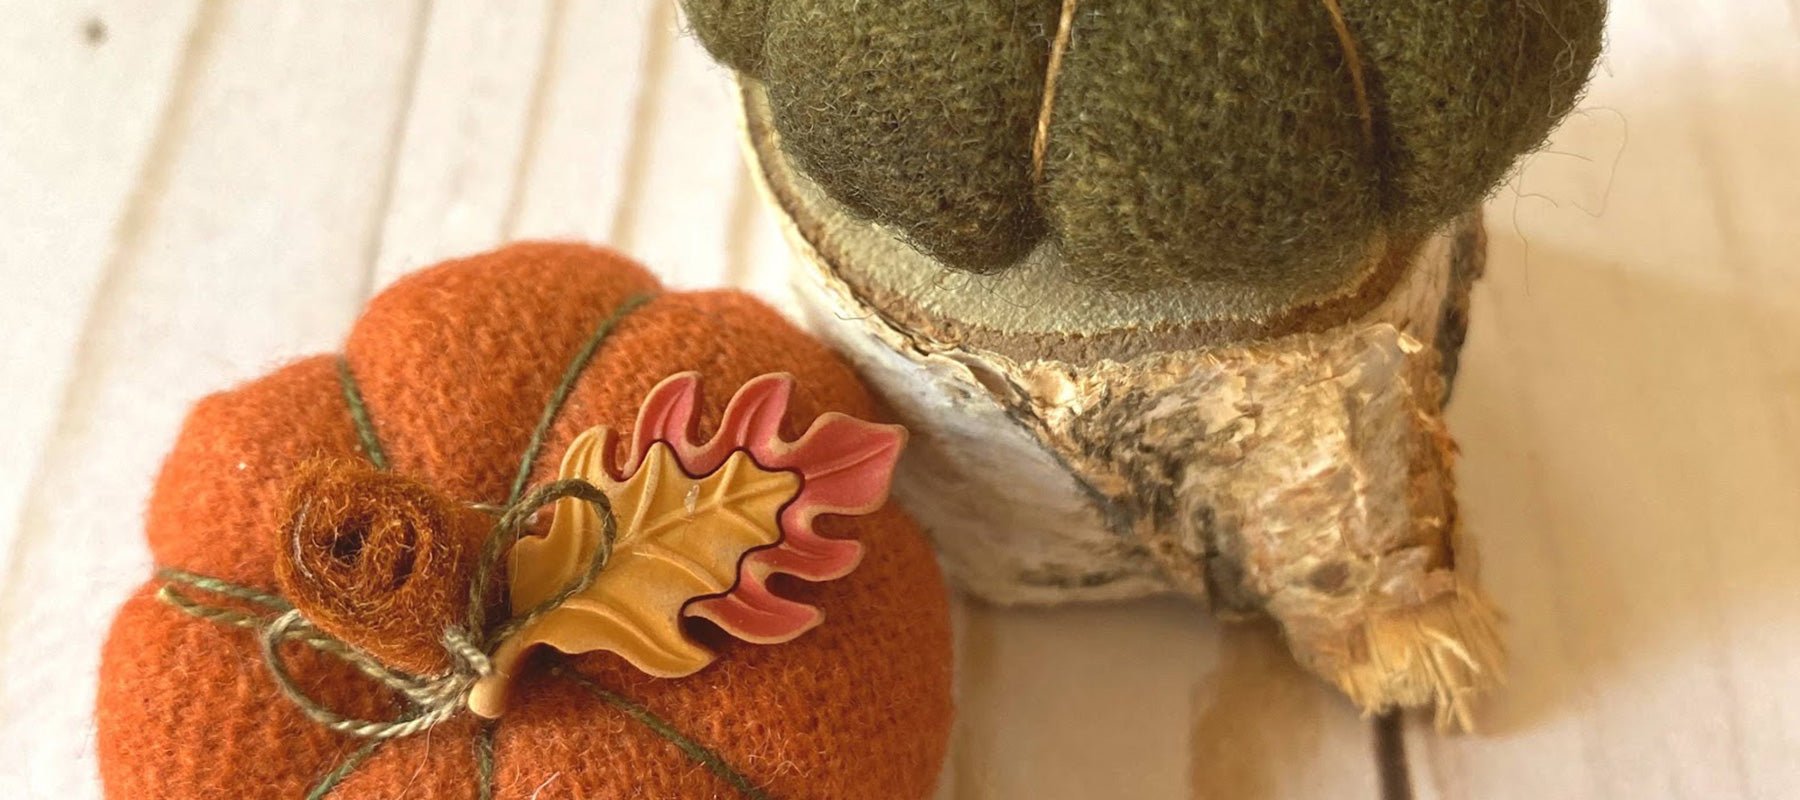
Step 4: Embellish! Buttons Galore has an ever-expanding selection of 3D buttons perfectly sized for crafting projects. I used Fall Leaves and Acorns.

These buttons happen to have plastic shanks on the back. They can be cut off quite easily, however often I like to create wire "picks" and use the wire to help secure the button to the project.
Happy crafting and decorating your doorstep for Thanksgiving!
Tag @buttonsgalore on Instagram with your home decor projects
